Engineering
How to measure a broken part for a 3D-printed replacement
A replacement cover or bracket has to fit the part it attaches to. Using a screw-on cover as an example, here is what to photograph, which dimensions to measure and how to mark them on a sketch.
Author: Only3D Print editorial team
Published:
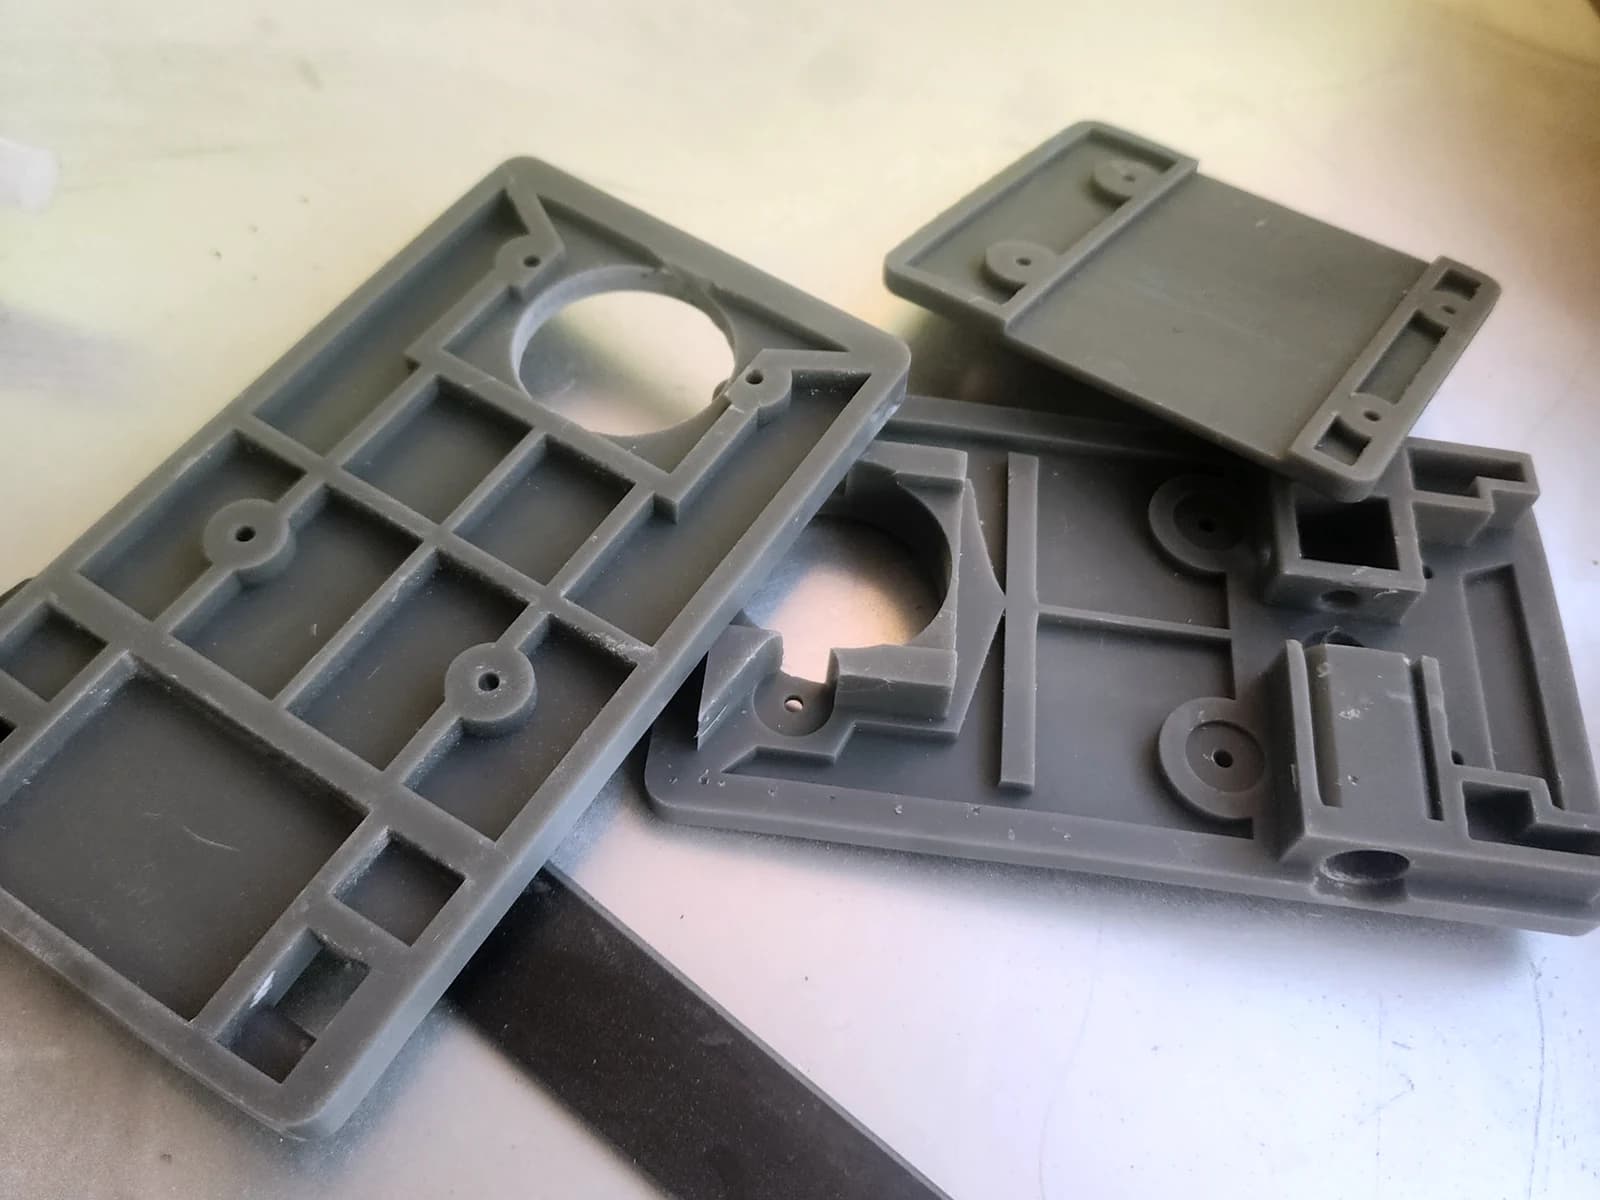
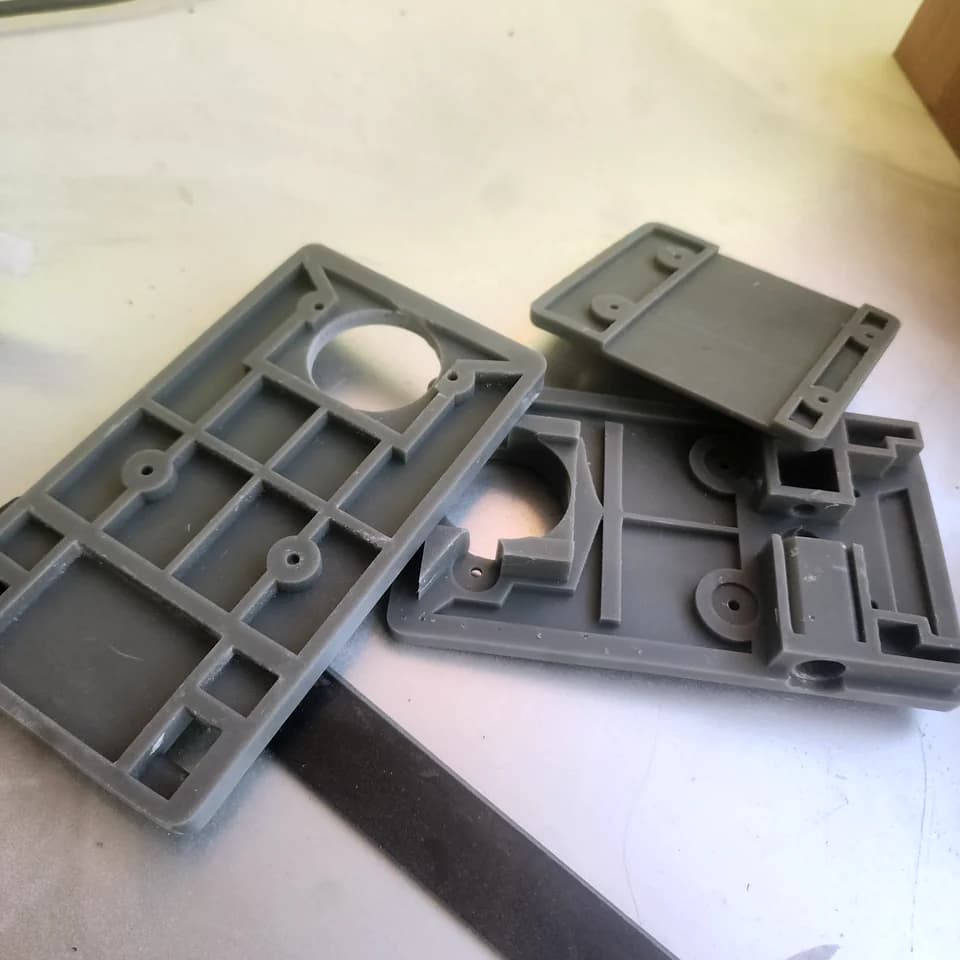
Take a cover with two screws and a snapped tab. A top view shows the outline, but it tells us little about how deep the cover sits or what the tab engaged with. Have both pieces to hand if you can — the cover itself and the housing it fits into.
Take four views and one close-up
Start with the cover in position. Include the edge of the housing and any nearby parts that limit its movement. If it no longer stays in place, lay it alongside the housing in the orientation in which it fits.
Photograph the front and back with the camera directly overhead. Place a ruler beside the edge you want to show, at the same height as that edge. Take a side view to show the lip, steps and screw posts. Use the fifth image for a close-up of the break or a matching tab that is still intact.
Put the fitting dimensions on a sketch
Draw the cover from above and from the side. Label its length, width and wall thickness. Add a separate dimension for the height of the lip that sits inside the housing. Wall thickness and overall cover height describe different features.
Pick an undamaged corner as your reference. For each hole, mark its diameter and the distance from its centre to each of the two adjacent edges. This captures an offset hole even when the outline looks symmetrical. Give all dimensions in millimetres.
Measure the distance between hole centres
For two round holes of equal diameter, measure the gap between their nearest edges along the line joining their centres, then add one hole diameter. A 24 mm gap between two 4 mm holes gives 28 mm centre to centre. Label that dimension explicitly on the sketch.
Calipers can measure outside widths, inside diameters and the depth of a recess. Close the clean jaws and check zero before taking a reading. If you have a ruler, use the smallest division you can read with confidence and mark the measurement as approximate.
Show where a missing piece used to fit
If the broken tab is missing, photograph the slot it engaged with and measure the width and depth of the slot. Add an arrow showing how the tab entered it. If a matching tab survives on the opposite side, include its dimensions. These details help us discuss the fit and whether a trial print would be useful before making a batch.
For an initial estimate, describe what the part does and attach your clearest views. The form accepts up to five JPG, PNG, WebP or PDF files, up to 10 MB each. A single PDF page can hold both views of the sketch and their dimensions.